When deploying my 3 node NUC VSAN lab I got to try out the new bootstrap vcsa gui installer blogged about here…
https://blogs.vmware.com/virtualblocks/2017/04/25/bootstrap-vcsa-with-vsan-easy-install/#respond
Once you download and unpack the VCSA you’ll find a file called installer within the following path %filepath%\vcsa-ui-installer\win32\installer.exe (there’s a MAC & LINUX option too)
You need to have installed ESXi on your target host first, also if your networking is trunked to the ESXi host, make sure you tag the VM port group where the VCSA will reside before deploying.
By default this installer will enable the MGMT VMK for VSAN, this was fine with me as once the VCSA was deployed I retrospectively changed all the VSAN related host settings.
You will also need the VCSA to be resolvable by the DNS server you specify during the setup, I already had a Domain Controller deployed within workstation on my laptop which was routable from my lab network so I used that.
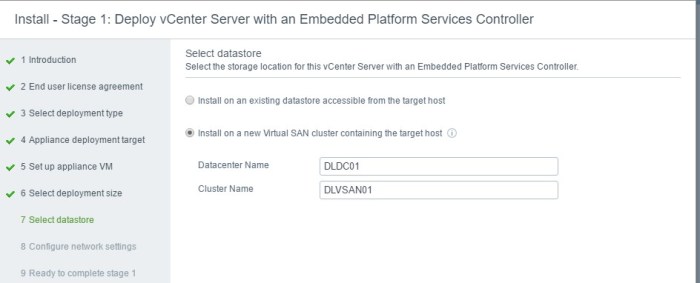
The Gui is relatively straight forward, ensure you select the option to install on a new virtual san cluster.
IP the VCSA

Select the disks on the host for the approproiate teir, if you want to enable Dedup do it now as the disk group will need to be evaucated to enable dedup and compression at a later date!

Do the traditional next next finish and it’ll start deploying. The VCSA deployment is now two step, once this stage is complete you need to log into the VCSA Mgmt page to complete the remainder of the setup.

Here is the proof of the pudding; my incredibly annoyingly named disks are now claimed by VSAN

The host is also now a member of a VSAN cluster.

A single host vsanDatastore

You can now complete the configuration through the vCenter

